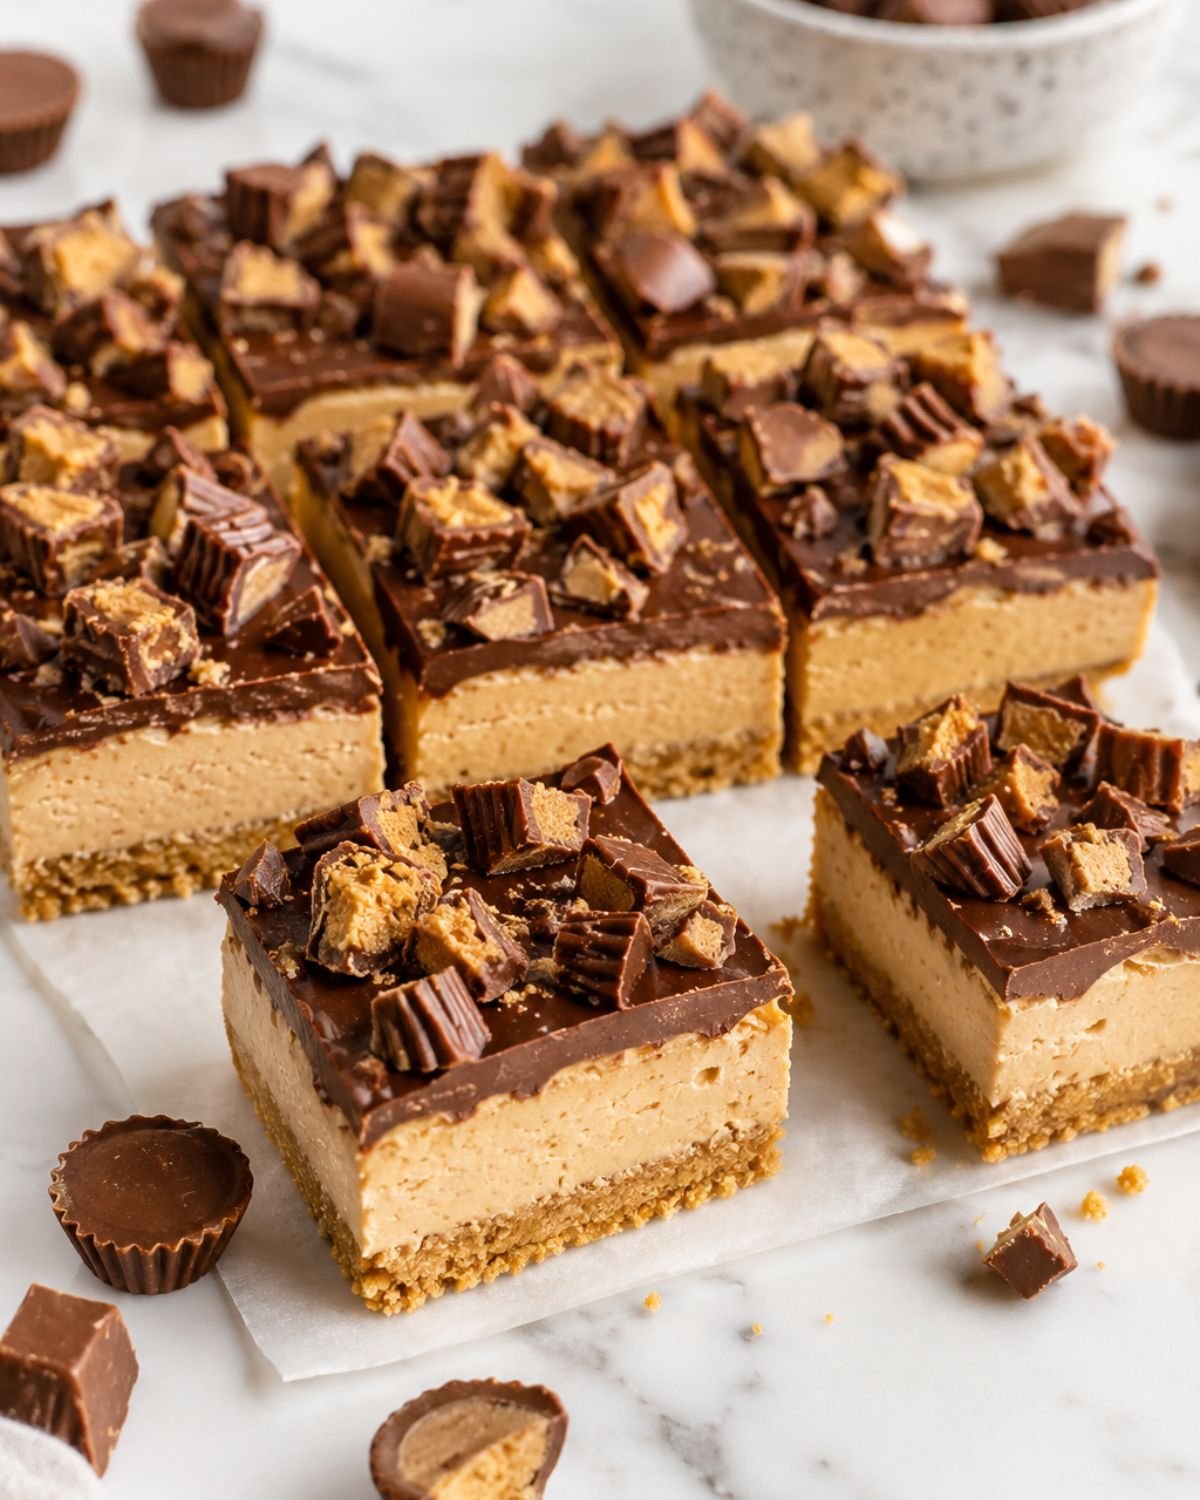
No-Bake Peanut Butter Cup Bars Recipe – Creamy & Indulgent
If you’re obsessed with that perfect chocolate-peanut butter combo (hello, Reese’s!), these No-Bake Peanut Butter Cup Bars are about to become your new favorite dessert. Imagine a buttery graham cracker crust, a super creamy peanut butter cheesecake filling that melts in your mouth, and a rich chocolate topping loaded with chopped peanut butter cups. The best part? No oven, no fuss, and only about 20 minutes of hands-on time.

I first made these for a family BBQ and they disappeared faster than anything else on the table. The creamy texture paired with the salty-sweet crunch of real peanut butter cups is pure magic. Whether you’re a peanut butter lover or just need an easy crowd-pleaser, these bars deliver every single time.
They’re make-ahead friendly, slice beautifully, and taste like you spent hours in the kitchen (when you really didn’t). If you loved my No-Bake Strawberry Cheesecake Bars, these peanut butter cup bars are the decadent cousin you need in your life.
Why You’ll Love These No-Bake Peanut Butter Cup Bars
- Ready in just 20 minutes of active time — the fridge does the rest!
- Make-ahead friendly and perfect for parties, potlucks, or late-night cravings.
- That irresistible chocolate + peanut butter combo everyone goes crazy for.
- Creamy, dreamy cheesecake filling with real peanut butter flavor (no artificial taste).
- Customizable with easy variations (see below!).
- Kid-friendly and adult-approved — they’re basically giant Reese’s in bar form.
Ingredients (Makes 16 bars)
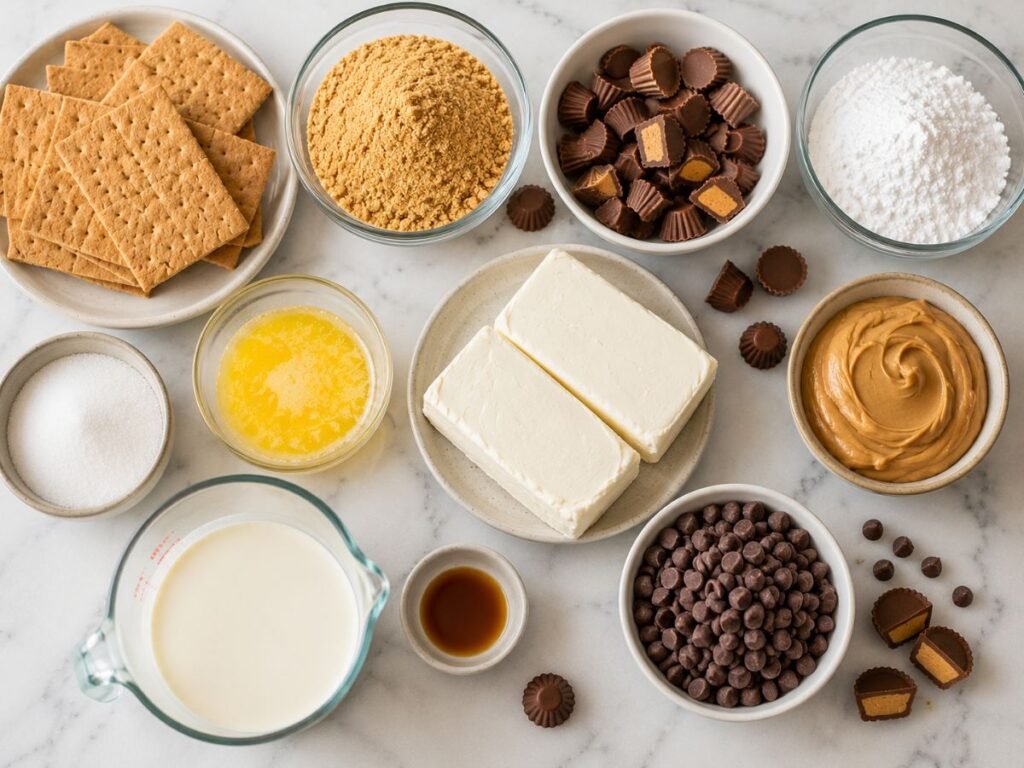
Graham Cracker Crust:
- 1 ½ cups graham cracker crumbs (about 10–12 full sheets)
- ¼ cup granulated sugar
- ½ cup unsalted butter, melted
For the Creamy Peanut Butter Cheesecake Filling:
- 16 oz (2 packages) full-fat cream cheese, softened to room temperature
- ¾ cup creamy peanut butter (not natural)
- 1 cup powdered sugar
- 1 teaspoon vanilla extract
- 1 cup heavy whipping cream, cold
For the Chocolate Peanut Butter Cup Topping:
- 1 ½ cups semi-sweet chocolate chips
- ¼ cup heavy cream
- ½ cup mini peanut butter cups, chopped (plus extra for sprinkling on top)
- 2 tablespoons creamy peanut butter (optional, for drizzle)
Step-by-Step Instructions
Step 1: Make the Buttery Graham Cracker Crust
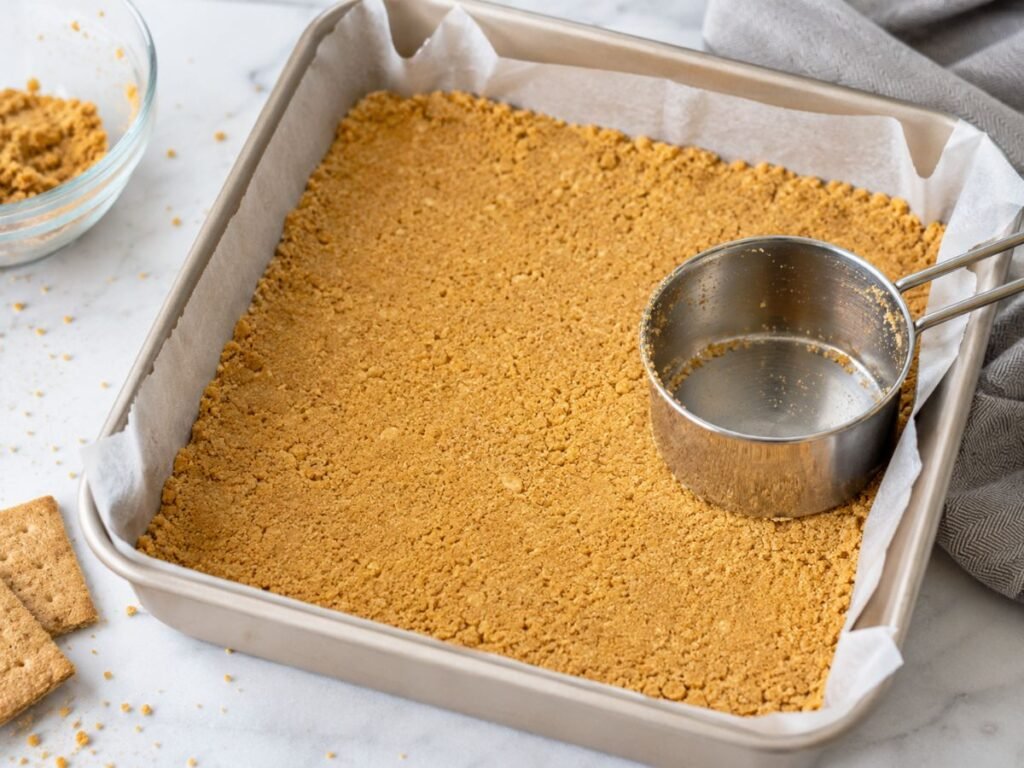
Line an 8×8 or 9×9-inch baking pan with parchment paper, leaving overhang on the sides for easy removal. In a medium bowl, mix graham cracker crumbs, sugar, and melted butter until it resembles wet sand. Press the mixture firmly and evenly into the bottom of the pan. Pop it in the fridge while you make the filling — this helps it set up nice and firm.
Step 2: Whip Up the Dreamy Peanut Butter Cheesecake Filling
In a large bowl using a hand mixer or stand mixer, beat the softened cream cheese and peanut butter until completely smooth and creamy (about 2 minutes). Add powdered sugar and vanilla, beating again until fluffy. In a separate bowl, whip the cold heavy cream to stiff peaks. Gently fold the whipped cream into the peanut butter mixture until fully combined and silky. Be careful not to deflate the cream — this is what gives that light, dreamy texture.
Step 3: Assemble & Chill
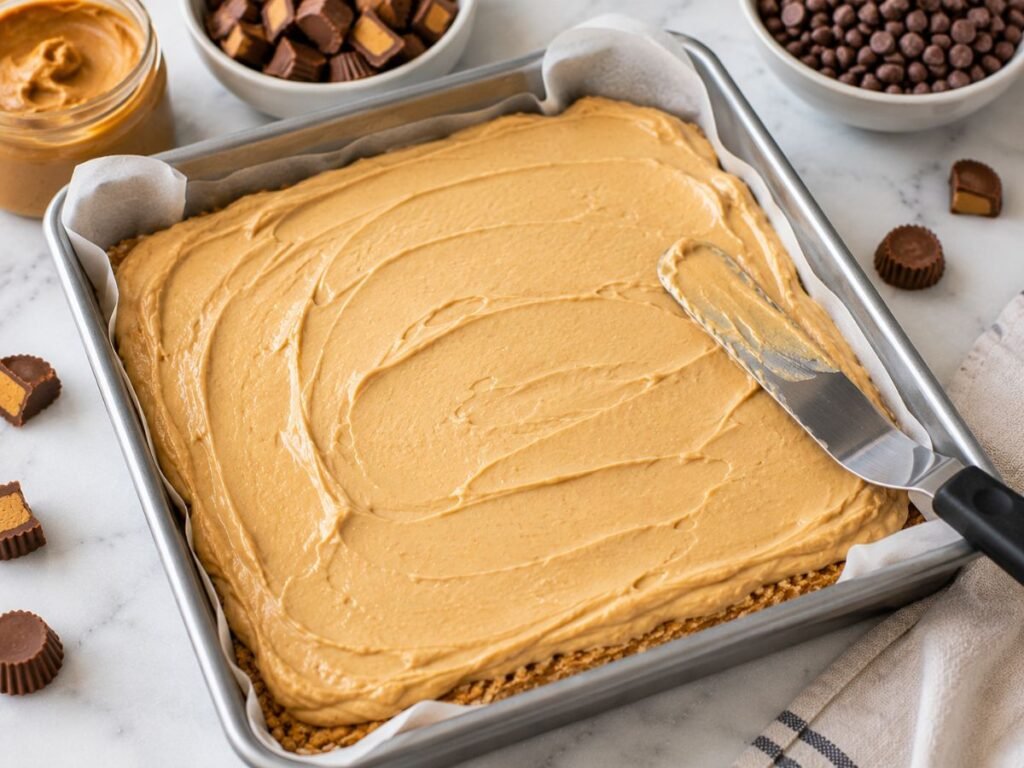
Spread the peanut butter cheesecake filling evenly over the chilled crust. Smooth the top with a spatula. Cover and refrigerate for at least 4 hours (or overnight for the cleanest slices). The bars need this time to firm up perfectly.
Step 4: Make the Chocolate Peanut Butter Cup Topping
In a microwave-safe bowl, heat the chocolate chips and heavy cream in 20-second intervals, stirring until smooth and glossy. If using, warm the extra peanut butter slightly and drizzle it over the chocolate. Let it cool for 5 minutes so it’s pourable but not hot.
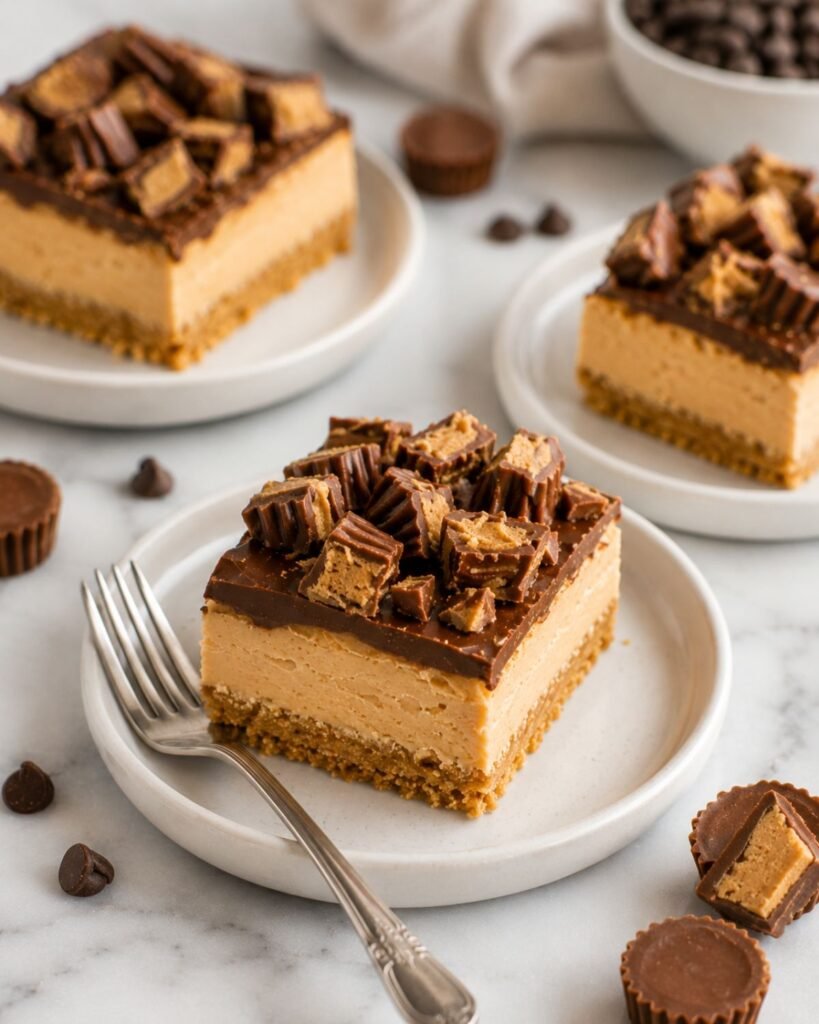
Step 5: Finish & Serve
Pour the chocolate topping over the chilled cheesecake layer and spread evenly. Immediately sprinkle with chopped mini peanut butter cups (press them in gently). Return to the fridge for another 30–60 minutes until the chocolate sets. Use the parchment overhang to lift the bars out, then slice into 16 squares with a sharp knife (wipe between cuts for clean edges).
Pro Tips for Perfect No-Bake Peanut Butter Cup Bars Every Time
- Use full-fat cream cheese and regular (not natural) peanut butter for the creamiest texture and best flavor.
- Let the cream cheese come to room temperature — cold cream cheese will leave lumps.
- For gluten-free, swap graham crackers with gluten-free cookies.
- Don’t skip the chilling time! It’s the secret to perfect slices that hold their shape.
Delicious Variations
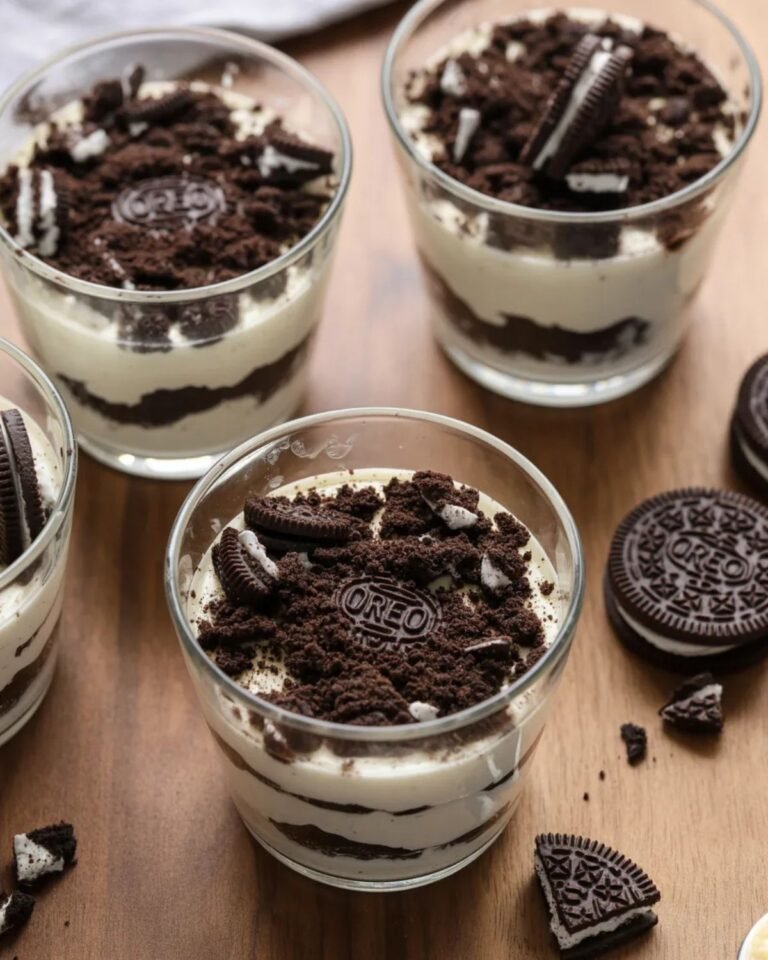
Oreo Crust Version →
Swap graham crackers for crushed Oreos (no extra sugar needed) for extra chocolatey goodness.
Banana Peanut Butter Cup →
Add a layer of thinly sliced bananas between the crust and filling for a fun twist.
Dark Chocolate Topping →
Use dark chocolate chips instead of semi-sweet for a richer, less sweet version.
Mini Bars →
Press into a mini muffin pan for bite-sized treats — perfect for parties!
Common Mistakes to Avoid (And How to Fix Them)
Using Cold Cream Cheese Mistake
Cold cream cheese creates lumps that won’t smooth out. Fix: Always let it sit at room temperature for 30–45 minutes before mixing.
Overmixing the Filling Mistake
Overbeating after adding whipped cream deflates the airy texture. Fix: Fold gently by hand with a spatula until just combined.
Skipping the Chill Time Mistake
Cutting too early leads to messy, soft bars. Fix: Chill at least 4 hours (overnight is even better).
Using Low-Fat or Whipped Cream Cheese Mistake
These versions make the filling too soft and less flavorful. Fix: Stick with full-fat block cream cheese.
Wet Crust Mistake
Too much butter makes a greasy, crumbly base. Fix: Measure carefully and press very firmly.
Grainy Chocolate Topping Mistake
Overheating chocolate causes it to seize. Fix: Microwave in short bursts and stir well between each.
Wrong Pan Size Mistake
Using a much larger pan makes bars too thin. Fix: Stick with 8×8 or 9×9 for the perfect thickness.
Storage & Make-Ahead
Store the bars in an airtight container in the fridge for up to 5 days. For longer storage, freeze without the chocolate topping for up to 2 months. Thaw overnight in the fridge, then add the fresh chocolate and peanut butter cup topping before serving.
Nutrition Information (per bar, approximate)
- Calories: 380
- Protein: 7g
- Carbs: 32g
- Fat: 26g
Frequently Asked Questions
Can I use natural peanut butter?
I don’t recommend it — the oil separation can make the filling greasy and less stable. Stick with regular creamy peanut butter like Jif or Skippy.
Does this recipe use gelatin?
Nope! The heavy cream and cream cheese set up beautifully in the fridge without any gelatin.
How long do they need to chill?
Minimum 4 hours, but overnight is best for the firmest, cleanest slices.
Can I make this in a 9×13 pan?
Yes — just double the entire recipe. The bars will be slightly thinner but still delicious.
Why You Need These Bars in Your Life
These No-Bake Peanut Butter Cup Bars are the ultimate easy indulgence. Creamy, chocolatey, peanut-buttery perfection that requires almost zero effort but tastes like a bakery treat. They’re perfect for summer gatherings, holiday dessert tables, or anytime you need a serious sweet fix without turning on the oven.
Trust me — once you try them, you’ll be hooked. Make a batch this weekend and watch them disappear!
Save this recipe for later, share it with your fellow peanut butter lovers, and tag me if you make them — I love seeing your creations.
Hi, I’m Sarah! I’m a home cook with a passion for healthy, feel-good food that actually tastes amazing. At Food Vibe Hub, I share simple recipes built around real ingredients — from high-protein breakfasts to easy everyday meals that fit into a busy life. Whether you’re meal prepping for the week or just looking for something delicious to make tonight, I’m here to make cooking feel a little easier and a lot more enjoyable.